Introduction
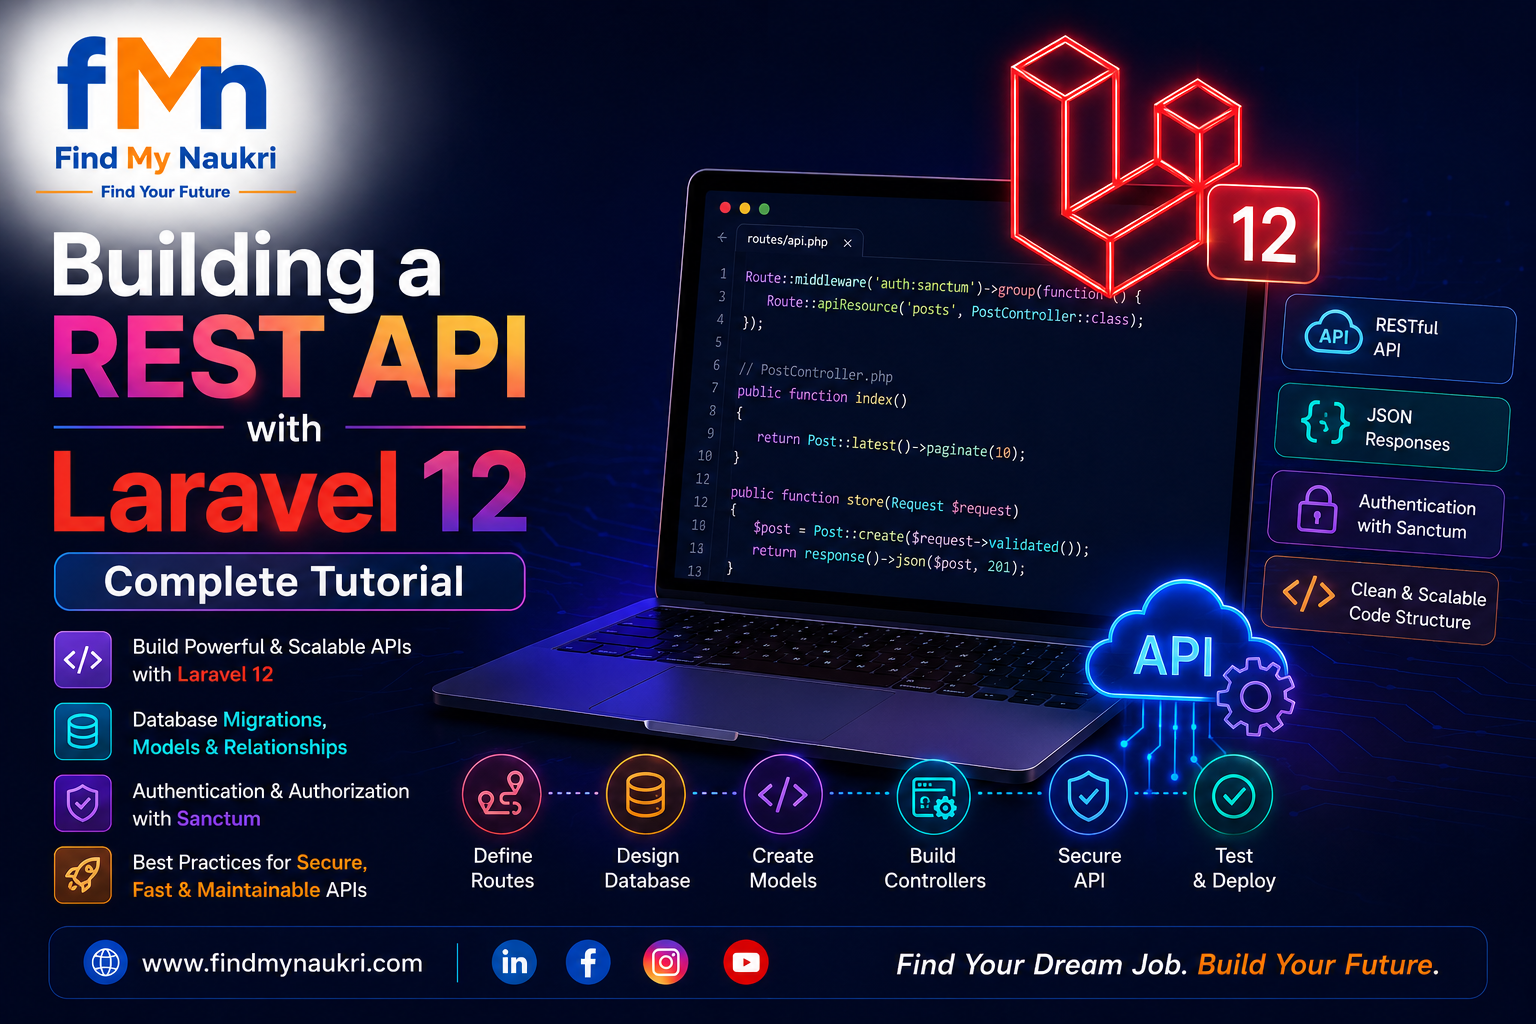
Building a RESTful API with Laravel is one of the most common tasks for backend developers today. In this comprehensive tutorial, we'll build a fully functional REST API from scratch including authentication, resource controllers, validation, and proper JSON responses.
By the end of this guide you will have a production-ready API structure that you can use as a boilerplate for your next project.
Prerequisites
- PHP 8.2+ installed
- Composer installed globally
- MySQL or SQLite database
- Basic knowledge of PHP and OOP
Step 1: Create a New Laravel Project
Open your terminal and run the following command to scaffold a fresh Laravel application:
composer create-project laravel/laravel api-tutorial
cd api-tutorial
php artisan serve
Your app will be available at http://127.0.0.1:8000.
Step 2: Configure the Database
Open the .env file and update your database credentials:
DB_CONNECTION=mysql
DB_HOST=127.0.0.1
DB_PORT=3306
DB_DATABASE=api_tutorial
DB_USERNAME=root
DB_PASSWORD=
Step 3: Create the Post Model & Migration
php artisan make:model Post -mOpen the generated migration file and define the schema:
Schema::create('posts', function (Blueprint $table) {
    $table->id();
    $table->foreignId('user_id')->constrained()->cascadeOnDelete();
    $table->string('title');
    $table->string('slug')->unique();
    $table->text('body');
    $table->enum('status', ['draft', 'published'])->default('draft');
    $table->timestamps();
});
Run the migration:
php artisan migrateStep 4: Create the API Resource Controller
php artisan make:controller Api/PostController --api --model=PostThis generates a controller with index, store, show, update, and destroy methods.
Step 5: Define API Routes
Open routes/api.php and register the resource routes:
use App\Http\Controllers\Api\PostController;

Route::middleware('auth:sanctum')->group(function () {
    Route::apiResource('posts', PostController::class);
});
Step 6: Implement the Controller
Here is the full implementation of the PostController:
latest()
            ->paginate(15);
    }

    public function store(Request $request)
    {
        $data = $request->validate([
            'title'  => 'required|string|max:255',
            'body'   => 'required|string',
            'status' => 'nullable|in:draft,published',
        ]);

        $post = Post::create([
            ...$data,
            'user_id' => auth()->id(),
            'slug'    => Str::slug($data['title']),
        ]);

        return response()->json($post, 201);
    }

    public function show(Post $post)
    {
        return $post;
    }

    public function update(Request $request, Post $post)
    {
        $this->authorize('update', $post);

        $data = $request->validate([
            'title'  => 'sometimes|string|max:255',
            'body'   => 'sometimes|string',
            'status' => 'sometimes|in:draft,published',
        ]);

        $post->update($data);

        return $post;
    }

    public function destroy(Post $post)
    {
        $this->authorize('delete', $post);
        $post->delete();
        return response()->noContent();
    }
}
Step 7: Add Sanctum Authentication
Install and configure Sanctum for token-based API auth:
composer require laravel/sanctum
php artisan vendor:publish --provider="Laravel\Sanctum\SanctumServiceProvider"
php artisan migrate
Create a login endpoint in routes/api.php:
Route::post('/login', function (Request $request) {
    $request->validate([
        'email'    => 'required|email',
        'password' => 'required',
    ]);

    if (!Auth::attempt($request->only('email', 'password'))) {
        return response()->json(['message' => 'Invalid credentials'], 401);
    }

    $token = auth()->user()->createToken('api-token')->plainTextToken;

    return response()->json(['token' => $token]);
});
Step 8: Test Your API
Use cURL or Postman to test:
# Login
curl -X POST http://127.0.0.1:8000/api/login \
  -H "Content-Type: application/json" \
  -d '{"email":"admin@example.com","password":"password"}'

# Get all posts (replace TOKEN)
curl http://127.0.0.1:8000/api/posts \
  -H "Authorization: Bearer TOKEN"

# Create a post
curl -X POST http://127.0.0.1:8000/api/posts \
  -H "Authorization: Bearer TOKEN" \
  -H "Content-Type: application/json" \
  -d '{"title":"Hello World","body":"My first post","status":"published"}'
Common API Response Patterns
Always wrap responses in a consistent format. Here's a helper trait:
trait ApiResponse
{
    protected function success($data, string $message = 'OK', int $code = 200)
    {
        return response()->json([
            'success' => true,
            'message' => $message,
            'data'    => $data,
        ], $code);
    }

    protected function error(string $message, int $code = 400)
    {
        return response()->json([
            'success' => false,
            'message' => $message,
        ], $code);
    }
}
Conclusion
You now have a fully functional Laravel REST API with:
- ✅ Sanctum token authentication
- ✅ Resource controller with CRUD operations
- ✅ Request validation
- ✅ Authorization policies
- ✅ Consistent JSON responses
In the next part, we'll add API versioning, rate limiting, and a proper JSON:API-compliant response structure. Stay tuned!
Pro Tip: Always version your APIs from day one. Use
/api/v1/prefixes in your route groups so you can evolve the API without breaking existing clients.